


Here's a cool and useful Photoshop trick everyone can use. We can all agree that photography has become cheap nowadays. By saying cheap, what I mean is, you don't have to hire a photographer or go to camera studio to have your pictures taken like in the past. Almost everyone now owns a cellphone with built-in camera function. Not to mention how the price of point-and-shoot cameras has declined over the years.
I mentioned this because we are now living in a world of photo abundance. Aside from the fact that anyone can take pictures of anything, we can also share pictures easily through the internet. Probably the most popular site to share our pictures is Facebook. The problem with Facebook is that it decompresses the quality of the pictures we upload and it takes a long time when uploading HD images. Well, there is no point actually in uploading HD images in Facebook since they get decompressed anyway (*rolls eyes*). This leads me to the idea of resizing images before uploading (just one scenario where batch resizing of images can come in handy).
How To Batch Resize Images Using Adobe Photoshop Scripts
Did you know that Photoshop has integrated scripts to process multiple images at the same time? I didn't know too, until yesterday when I was tasked to create thumbnails for a bunch of flyers. Here's how it goes...
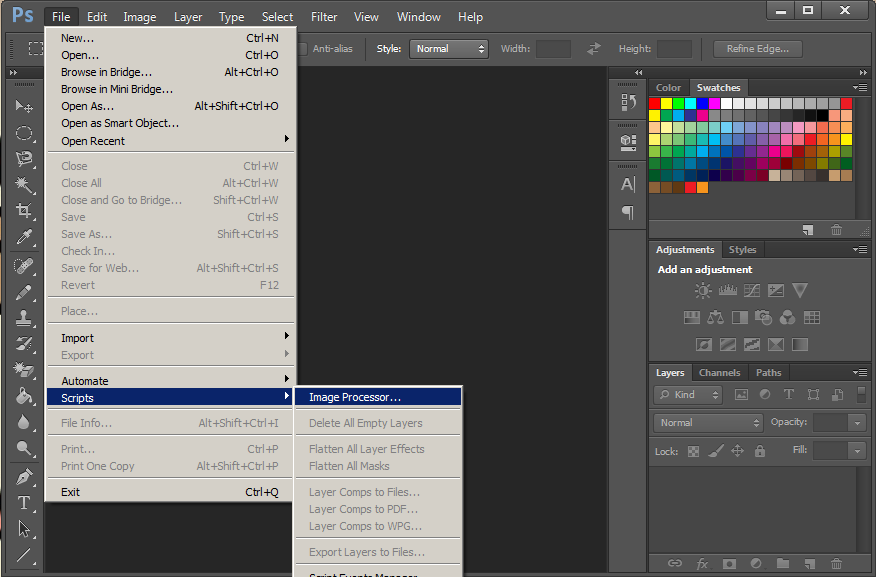
1. Launch Adobe Photoshop (of course). Click File > Scripts > Image Processor...
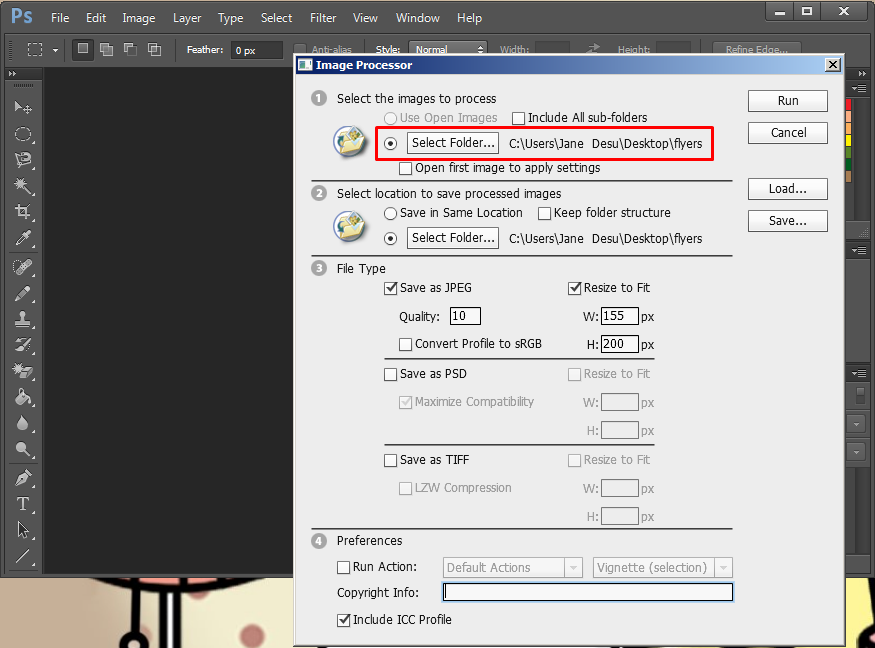
2. A pop-up window will appear. First, select the directory where your image files are located. It makes sense to store all the files you need to resize in one folder.
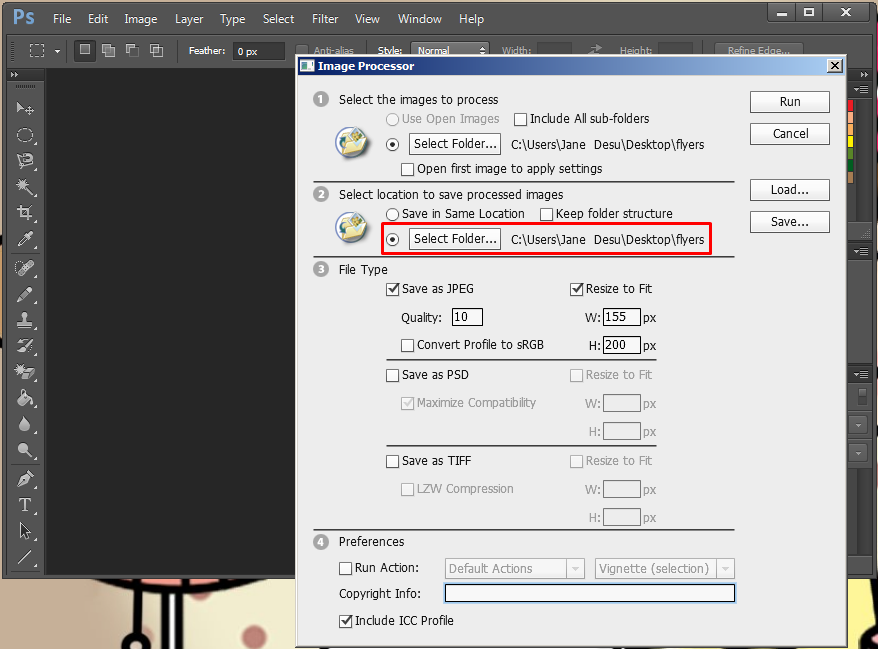
3. Next, set the location where you want the output to be saved. You can choose the same directory where your original files are located. Photoshop will use the same file names but it will create another folder within that selected directory so there is no need to worry about the original files being overwritten.
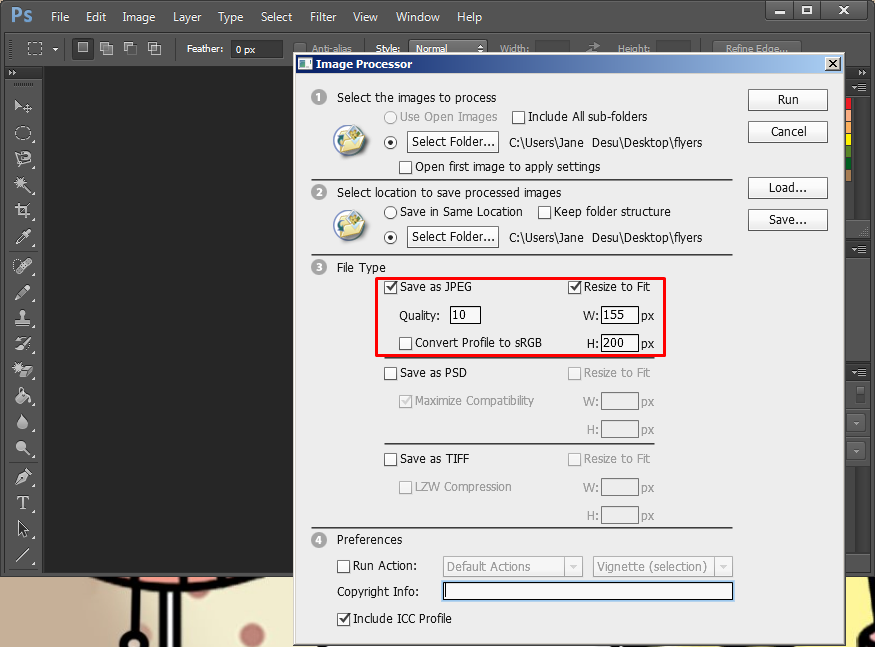
4. Since we are batch resizing, make sure the Save as JPEG option is checked. Enter your preferred width and height.
5. Click Run. Now sit back, sip coffee, relax, and wait.


No comments:
Post a Comment